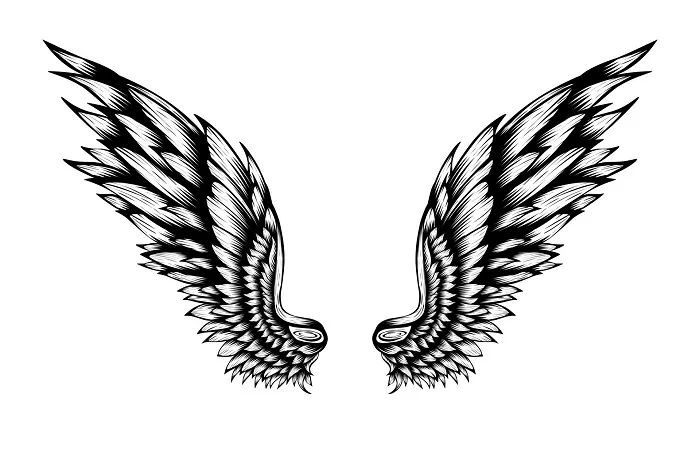
Designing an angel wing tattoo stencil is a crucial step in the tattooing process. A well-designed stencil can help ensure that the tattoo looks great and is placed correctly on the skin. In this article, we will provide a comprehensive guide to designing an angel wing tattoo stencil. We will discuss the importance of a good stencil, the tools required for creating a stencil, and the step-by-step process for designing and transferring the stencil onto the skin. We will also provide tips and tricks for creating a perfect stencil.
Importance of a Good Stencil:
A good stencil is essential for creating a great tattoo. It helps the tattoo artist to accurately transfer the design onto the skin and ensures that the tattoo is placed correctly. A good stencil also helps to prevent mistakes and ensures that the design is symmetrical and balanced. A well-designed stencil can make the tattooing process smoother and more efficient, saving time and reducing the risk of errors.
Tools Required:
To create an angel wing tattoo stencil, you will need a few basic tools. These include tracing paper, a pen or pencil, a ruler, and a pair of scissors. You may also want to use a computer program or app to help you create the design. Additionally, you will need a printer and some transfer paper to transfer the stencil onto the skin.
Step-by-Step Process for Designing and Transferring the Stencil:
Find a Reference Image: The first step in creating an angel wing tattoo stencil is to find a reference image. This can be a photograph, a drawing, or a computer-generated image. Look for an image that has the right shape and size for the area where you want to place the tattoo.
Sketch Out the Design: Once you have a reference image, you can begin to sketch out the design onto the tracing paper. Use a pen or pencil to trace the image onto the tracing paper. Use a ruler to ensure that the design is symmetrical and balanced. This is an important step, as it will help you to create a clear and accurate stencil.
Transfer the Design onto Transfer Paper: Next, you will need to transfer the design onto the transfer paper. Place the tracing paper face down onto the transfer paper and trace over the design with a pen or pencil. Use a light touch when tracing to avoid smudging or smearing the ink. Once the design has been traced, cut out the stencil using a pair of scissors.
Apply Transfer Solution: To transfer the stencil onto the skin, you will need to use a transfer solution. Apply the solution to the skin and place the stencil onto the skin, pressing down firmly. Once the stencil is in place, carefully remove the transfer paper, leaving the stencil on the skin.
Check the Stencil: Before starting the tattoo, it is important to check the stencil to ensure that it is in the correct position and size. Make any necessary adjustments before beginning the tattoo.
Tips and Tricks:
- Use a sharp pencil or pen to ensure that the lines are clear and precise.
- Use a light touch when tracing the design onto the transfer paper to avoid smudging or smearing the ink.
- When cutting out the stencil, be sure to cut along the lines carefully to avoid any jagged edges.
- Test the stencil on the skin before starting the tattoo to ensure that it is in the right position and size.
Conclusion:
Designing an angel wing tattoo stencil is a crucial step in the tattooing process. A well-designed stencil can help ensure that the tattoo looks great and is placed correctly on the skin. With this comprehensive guide, we hope to inspire and inform those considering designing an angel wing tattoo stencil. Remember to use the right tools, take your time, and follow the step-by-step process carefully to create a perfect stencil. Whether you are a tattoo artist or someone designing a tattoo for yourself, a well-designed stencil can make all the difference in creating a heavenly and beautiful tattoo.
Related topics:

